Why Post-Installation Sanding is Crucial
Even the highest-grade unfinished hardwood planks will have microscopic variations in thickness right out of the bundle. Once nailed or glued down, these slight discrepancies create an uneven surface that requires professional correction.
Sanding immediately after installation addresses several structural and aesthetic issues:
- Eliminates Overwood (Lippage): Overwood occurs when the edges of two adjacent boards do not sit perfectly flush. Sanding cuts down these high ridges to create a continuous, flat plane.
- Removes Jobsite Contaminants: During installation, wood handles grease from hands, footwear tracks, and tool scuffs. Proper sanding strips away these surface imperfections.
- Opens the Wood Pores: The friction of wood manufacturing can close or “burnish” the surface cell structure. Sanding reopens these pores so stains and polyurethane sealers can penetrate deeply and bond permanently.
Erases Trowel Lines and Marks: If you opted for a glue-down installation, any stray adhesive or subfloor imperfections can be sanded flat.
Refined Sanding: Prefinished vs. Unfinished Hardwood
It is vital to distinguish between the two primary types of hardwood flooring installations before firing up a piece of heavy equipment.
- Unfinished Solid Hardwood: This requires a full, aggressive three-step sanding sequence immediately after installation to flatten the floor before applying any stain or sealer.
- Prefinished Hardwood: These planks are completely sanded, stained, and sealed at the factory. Do not sand prefinished floors after installation. Doing so immediately voids the manufacturer’s structural warranty and destroys the durable, factory-applied aluminum oxide topcoat.
- European-style oiled prefinished floors: While some of the flooring arrives pre-finished with penetrating or hard-wax oil, we recommend applying a final coat of oil after installation is complete and before the homeowners move in. This process removes any construction grit left behind by other trades. It also gives us an opportunity to perform a final inspection and thoroughly clean the floor.
The Professional Hardwood Sanding Sequence
Sanding a newly installed floor is a precise, progressive process. You must move sequentially from coarse sandpaper grits to fine polishing grits. Skipping a step leaves deep spiral scratches that will look unsightly once a dark stain or shiny glossy finish is applied.
Step 1: The Rough Cut (Flattening the Floor)
The goal of the first pass is to flatten the floor and remove all overwood lippage.
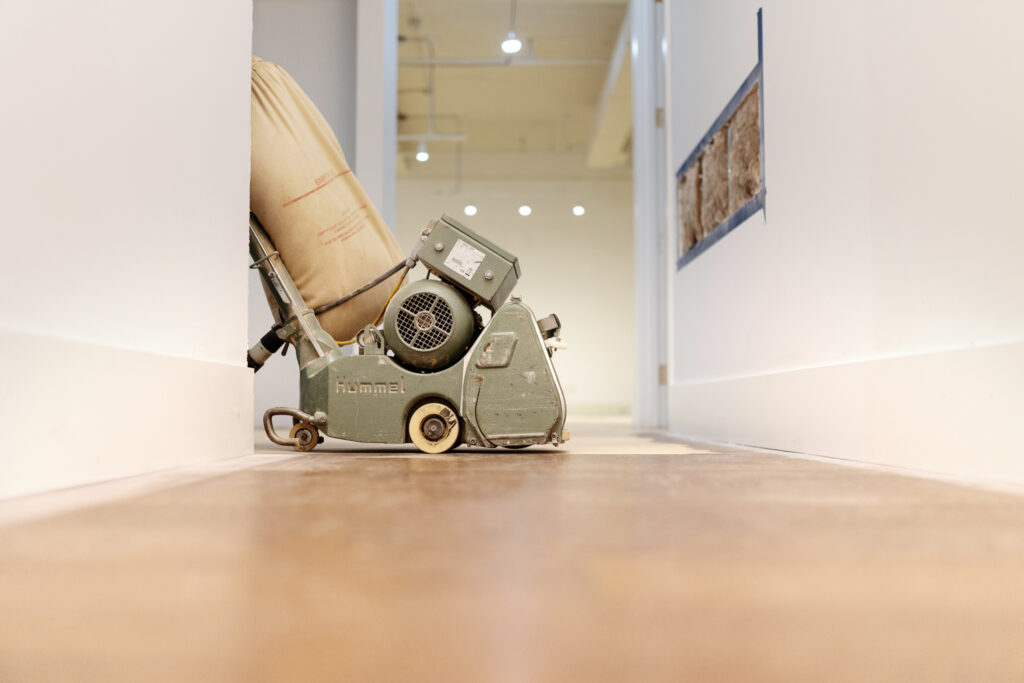
- Equipment: Heavy-duty belt sander (drum sander) and an edge sander (edger).
- Abrasive Selection: Depending the floor use 40-grit to 60-grit sandpaper.
- Technique: Run the drum sander at a slight angle (7 to 15 degrees) across the direction of the wood grain on the first pass to cut down high joints efficiently. Follow up immediately by running parallel to the wood grain to flatten the cuts. Use the disk edger to sand tight up against the baseboards and walls.
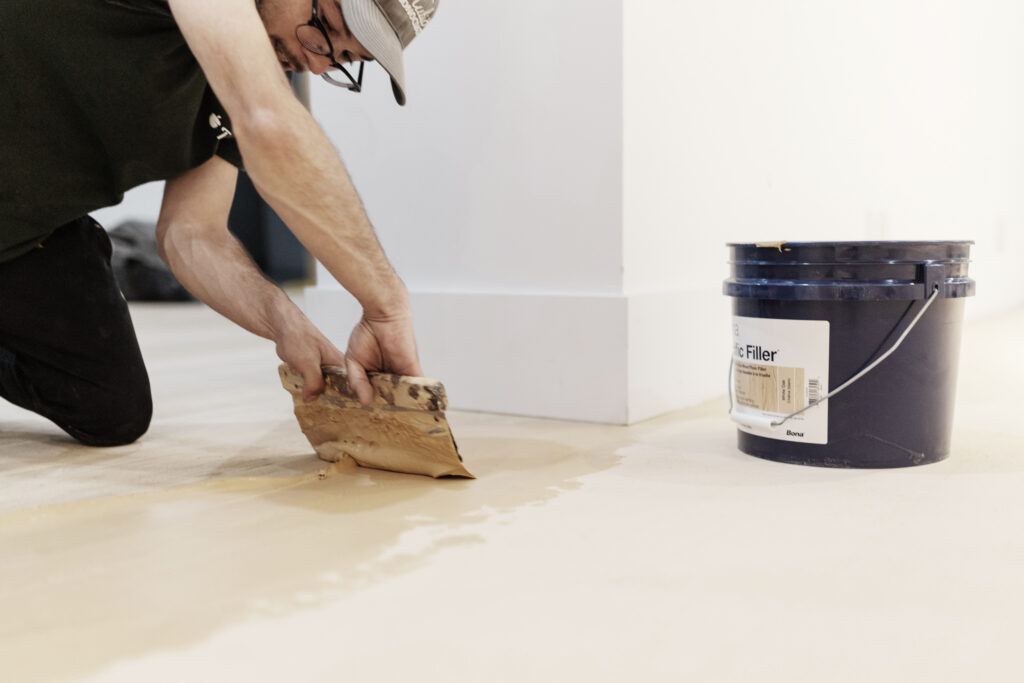
Step 2: Full trowel filling
Full-trowel filling is a process in which a wood filler is applied across the entire floor surface using a flexible trowel. Unlike spot filling, which only addresses visible gaps and imperfections, full trowel filling fills nail holes, minor surface defects, open grain, small cracks, and gaps between boards throughout the entire floor.
Step 3: The Medium Cut (Erasing Scratches)
The rough cut leaves behind noticeable scratches in the wood. The medium cut removes those deep marks and smooths out the surface.
- Equipment: Drum sander and edge sander.
- Abrasive Selection: Use 80-grit or 100-grit sandpaper.
- Technique: Sand exclusively parallel to the wood grain direction. Ensure your passes overlap by half the width of the drum to maintain a perfectly uniform depth across the room.
Step 4: The Fine Cut (Polishing and Blending)
The final pass closes up the grain slightly to prevent excessive stain absorption and blends the perimeter edges seamlessly with the main field.
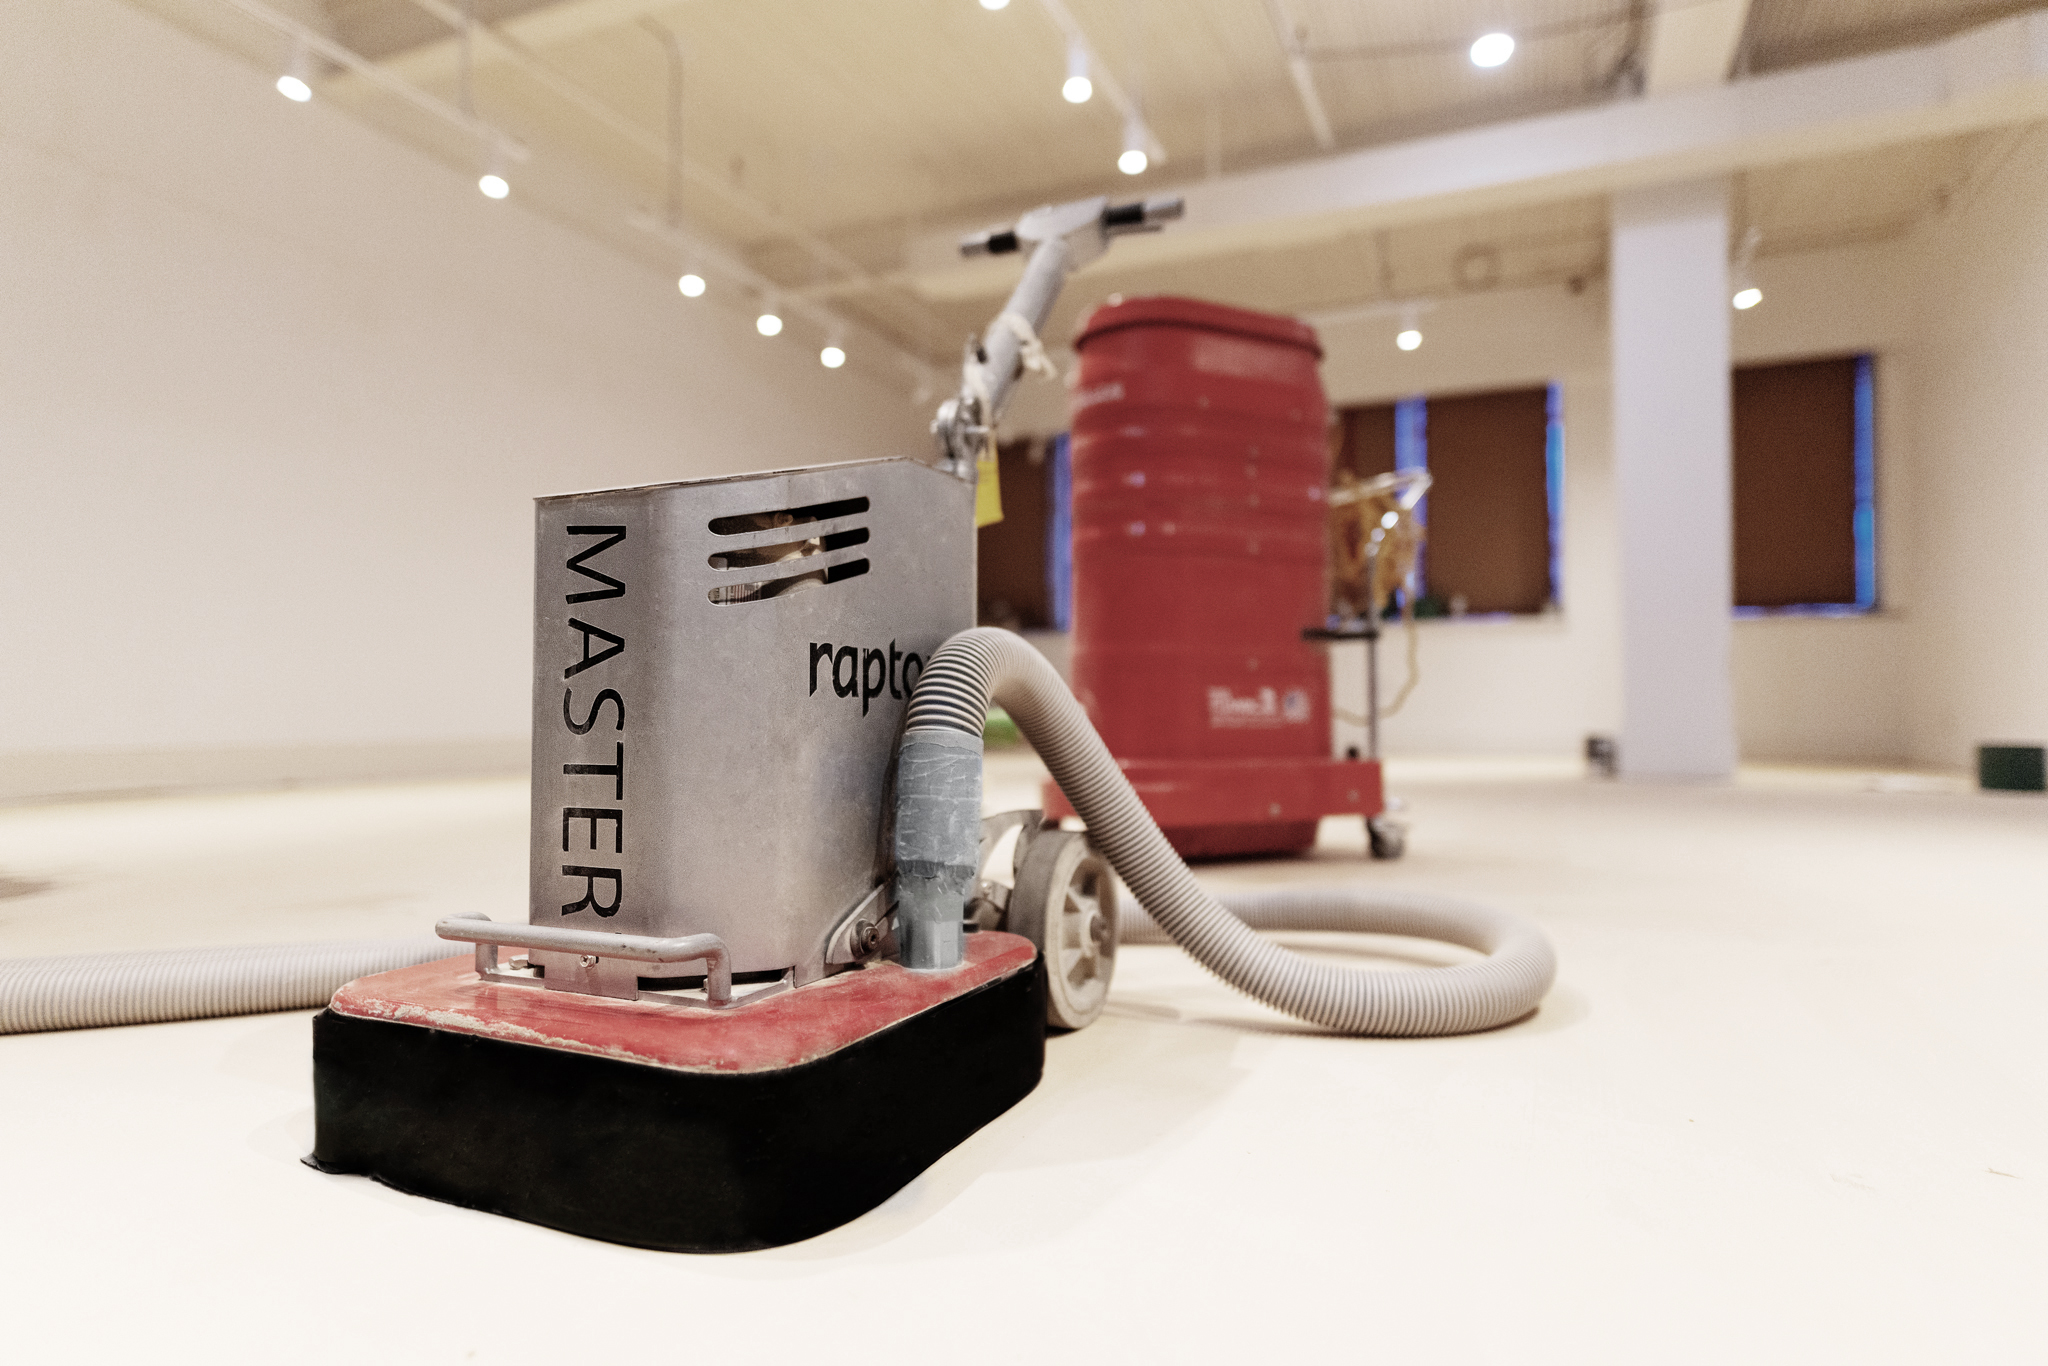
- Equipment: Multi-disc orbital floor buffer or rotary floor machine.
- Abrasive Selection: Use 100-grit or 120-grit sanding screens.
- Technique: Sweep the buffer in a systematic, sweeping motion across the entire room. This step polishes out any remaining swirl marks left by the edger and leaves the floor completely smooth to the touch.
Essential Post-Installation Sanding Tools
Executing a flawless sand job requires a specialized arsenal of flooring equipment. Attempting to use small DIY tools will result in a wavy, uneven finish.
- Belt/Drum Sander: The main walk-behind machine used to flatten the expansive center of the room.
- Floor Edger: A high-torque disc sander designed to clean up perimeter edges where the big drum sander cannot reach.
- Random Orbital Sander: Perfect for detailing tight corners, doorways, and closets.
- Planetary Sanding Systems: For high-quality hardwood floor finishing, we use professional multi-head sanding machines such as the Lägler Trio and similar planetary sanding systems. Unlike basic sanding equipment, multi-head sanders use multiple sanding discs that rotate across the floor at the same time. This creates a flatter, smoother, and more consistent surface, especially before staining, oiling, or applying the final finish
- Floor Buffer / Screen Machine: A rotary machine used for the final polishing stage to blend the entire floor together.
- Tack Cloths & Commercial Vacuum: A high-powered, sealed HEPA vacuum system is mandatory to collect fine wood dust before finishing.
Crucial Tips to Avoid Costly Sanding Mistakes
Avoid these common pitfalls to protect your valuable new investment:
- Never Start or Stop While the Drum is Down: Always lower the sanding drum gently while the machine is already in motion. If you stop moving while the drum is spinning against the wood, it will instantly dig a permanent, deep groove into your brand-new floor.
- Empty Dust Bags Frequently: Wood dust is highly combustible. Empty the sander collection bags when they are 1/3 full into a fire-safe outdoor container to eliminate spontaneous combustion risks.
- Check for Protruding Fasteners: Before your first pass, walk the floor with a scraper. Ensure every cleat or staple is counter-sunk below the surface. A proud nail head will instantly tear your expensive sandpaper ribbons to shreds.
Frequently Asked Questions
How long should I wait after installation before sanding
my hardwood floors?
For standard nail-down installations, you can technically
begin sanding immediately. However, for glue-down installations, you must
wait at least 24 to 48 hours to allow the flooring adhesive to
fully cure. If you sand too early, the vibrations can break the wet adhesive
bond, leading to loose, hollow-sounding boards.
What is “water popping” and should it be done
after sanding?
Water popping is the process of spraying a fine, uniform
mist of clean water onto the hardwood after the final sanding screen step. This
forces the tightly compressed wood fibers to swell up and stand on end.
Flooring contractors use this technique before applying dark stains to ensure
the wood absorbs the pigment deeply and evenly, eliminating splotchiness.
How much wood thickness is removed during the
post-installation sand?
A proper post-installation sand removes only a microscopic
layer—roughly 1/32 of an inch of wood. Solid hardwood flooring
has a wear layer of approximately 5/16 of an inch above the tongue and groove
joint, meaning a newly installed floor can easily withstand 4 to 7 full
sandings over its 100-year lifespan.
Final Thoughts: The Foundation of a Flawless Finish
Post-installation sanding is the defining bridge between raw
construction lumber and a breathtaking architectural feature. Taking the time
to properly execute each grit progression ensures your stains sit evenly and
your topcoats shield the wood flawlessly for decades.