Renovation and Structural Repairs
Unlike synthetic carpet or luxury vinyl tile, high-quality hardwood does not need replacing when it shows signs of age, wear, or localized structural damage. Through meticulous renovation and strategic technical repairs, old, scratched, or compromised planks can be fully restored to their original architectural brilliance.
Whether dealing with minor cosmetic surface blemishes, deep pet urine stains, or structural settling issues, a targeted restoration plan protects your structural investment and restores your home’s historic charm.
Assessing the Damage: Refinishing vs. Structural Repair
Before gathering tools or ordering materials, a thorough evaluation is required to separate surface-level finish wear from serious structural subfloor failures.
- Cosmetic Renovation: If the wood damage is confined to superficial finish scratches, minor discoloration, and dull high-traffic lanes, the floor is an ideal candidate for a standard screen-and-recoat or a deep mechanical sand-and-refinish.
- Structural Board Repair: When planks exhibit severe splitting, deep dry rot, localized water warping, or deep gaps that compromise the tongue-and-groove interlocking system, individual board replacement or localized structural rebuilding becomes mandatory.
Professional Techniques for Localized Hardwood Repairs
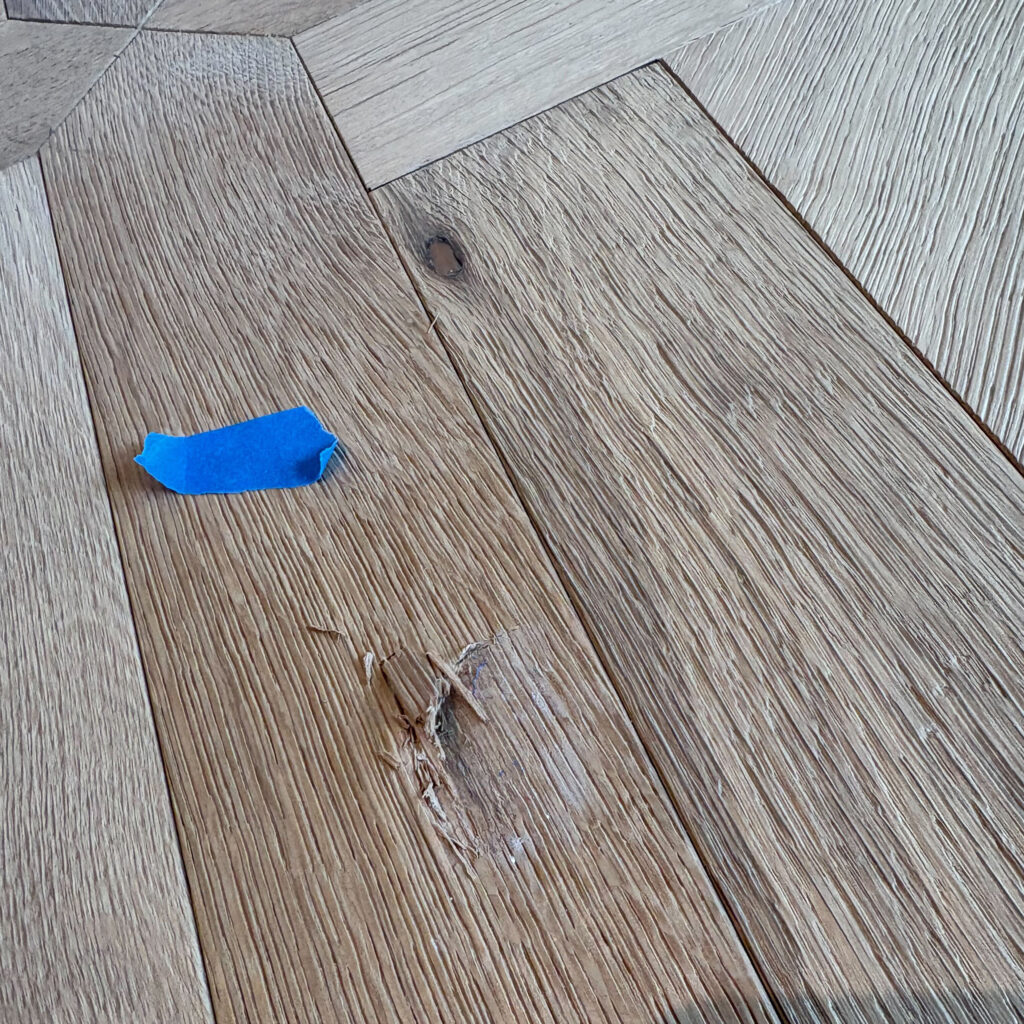
When specific sections of a wood floor are damaged by localized leaks, heavy dropped objects, or shifting walls, replacing individual planks without dismantling the entire room requires advanced carpentry skills.
- The Single-Board Replacement Process (“Plank Surgery”)
Replacing a damaged board in the middle of an existing interlocking floor requires a specialized, non-destructive extraction sequence:
- Relieve the Tension: Use a circular saw set to the exact thickness of the flooring plank. Run two parallel relief cuts down the center length of the damaged board, stopping an inch before the end joints.
- Chisel the Center: Use a sharp wood chisel to split the core of the board along the saw kerfs. Carefully remove the center piece, then gently tap out the remaining tongue and groove sections from the neighboring planks.
- Modify the Replacement Plank: Select a matching raw wood board with identical grain density. Use a table saw to clean off the bottom shoulder of the groove side on the new board. This modification allows the new piece to drop straight down into the open vacancy.
- Secure and Weight: Apply a premium construction adhesive or an elastomeric wood glue to the subfloor. Slot the tongue side of the new board into the existing floor, drop the modified groove side down, and place heavy weights over the repair area for 24 hours to ensure a flat, flush bond.
- Remediating Gaps and Separation
Seasonal climate fluctuations cause natural contraction, but excessive, permanent gaps require structural intervention:
- The Wood Shim Method: For wide gaps exceeding 1/8 inch, do not use liquid wood filler, which dries out and crumbles under foot traffic. Instead, cut thin slivers of matching hardwood strips, coat them in wood glue, and tap them gently into the gaps using a rubber mallet. Once dry, plane or chisel them flush with the floor surface.
- Rope Inserts: In historic homes or rustic wide-plank installations, driving natural jute or hemp rope soaked in wood stain into wide gaps is a historically accurate method to seal open drafts while allowing the wood to expand naturally.
Advanced Hardwood Floor Renovation Strategies
Renovating an entire room that has hidden damage from old carpeting, hidden tack strips, or deep staining requires systematic rehabilitation steps.
Deep Water Stain and Pet Odor Remediation
Dark black or grey spots on hardwood usually indicate advanced iron-tannin reactions caused by pet urine or prolonged moisture contact. Ordinary sanding will not remove these deep chemical stains.
- Chemical Bleaching: After removing the top protective coat, apply a saturated solution of oxalic acid crystals mixed with hot water directly to the darkened wood fibers.
- Neutralization: Allow the acid to dry until it turns into a white powder, which chemically strips the dark iron compounds out of the grain. Rinse the area thoroughly with clean water and baking soda to neutralize the acid before proceeding with final sanding.
Complete Renovation Equipment Checklist
To achieve seamless, professional repairs that blend invisibly with your existing floor, utilize this targeted tooling layout:
- Plunge-cut track saw or circular saw with adjustable depth stop
- Sharp 1-inch professional framing chisels
- Wood moisture meter with pins for checking repair zones
- Oxalic acid crystals and neutralizers for stain extraction
- Breakaway floor-screwing kits for squeak elimination
- Premium modified silane wood adhesives

Frequently Asked Questions
Can I repair a single water-damaged section without refinishing the whole room?
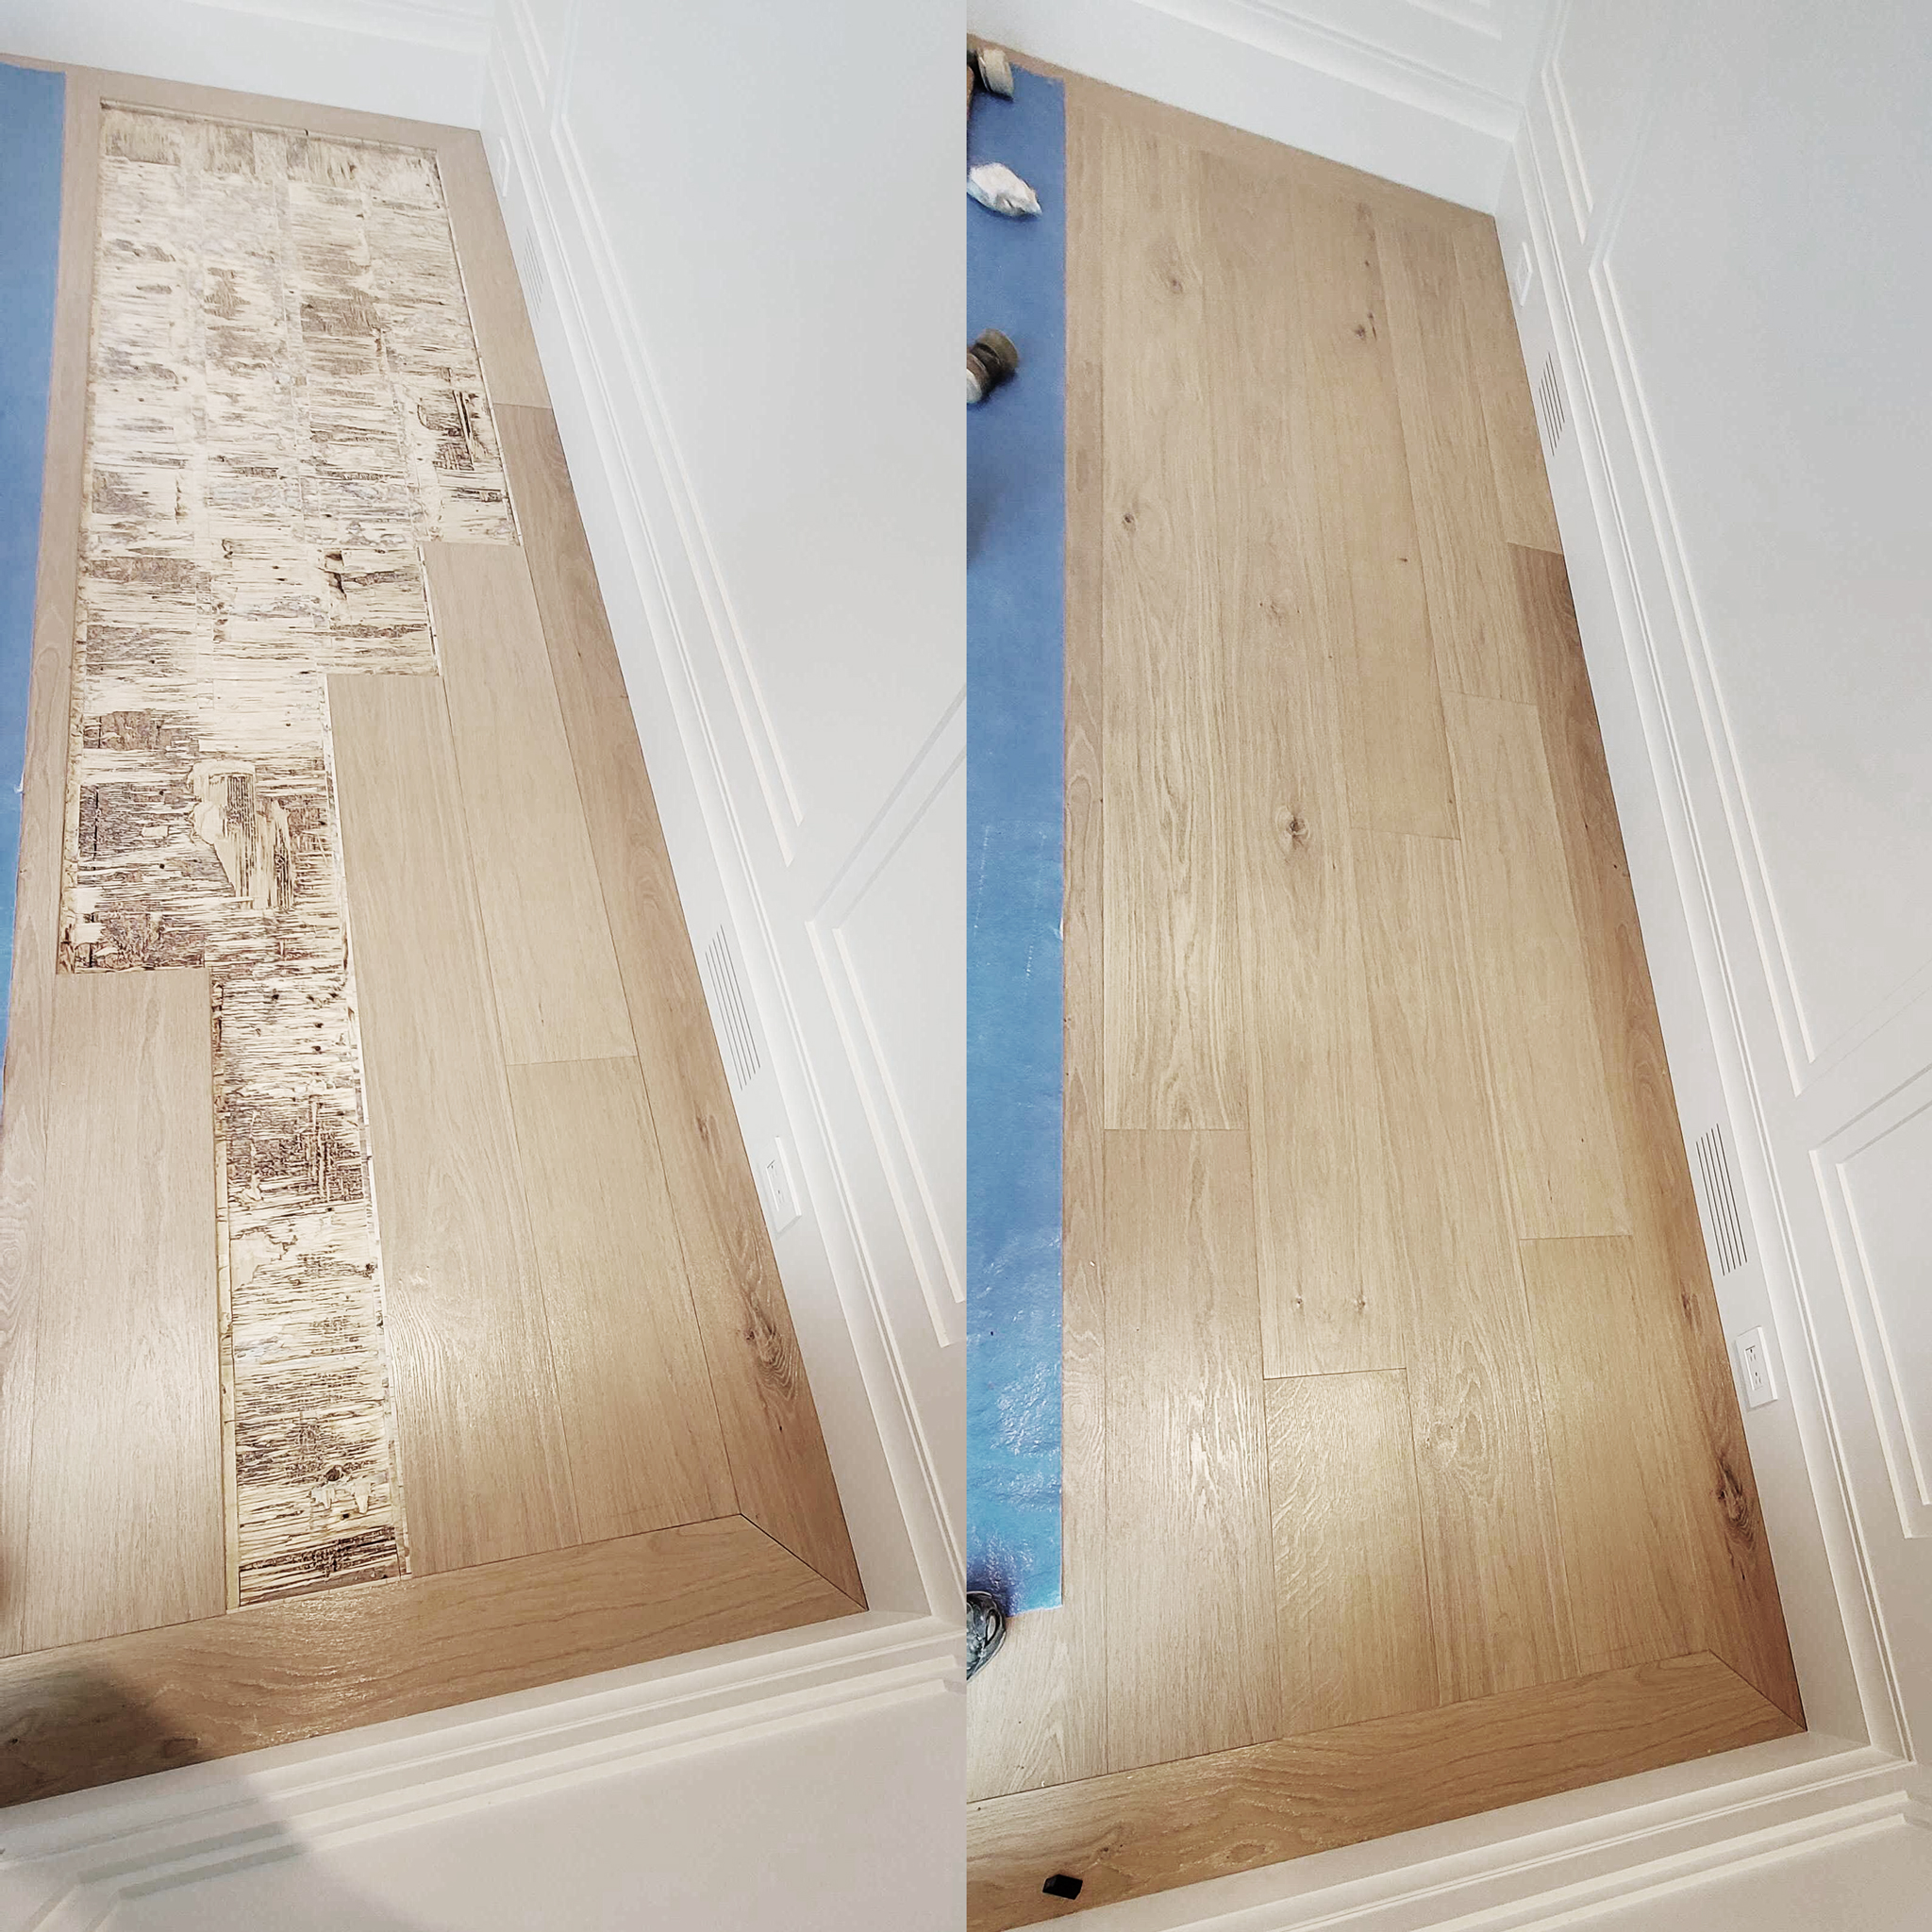
Yes, localized board replacement is entirely possible. However, matching the exact color, sheen, and amber hue of the existing surrounding aged finish is highly difficult. To hide the repair seamlessly, professionals often tape off natural design boundaries or doorways and refinish a complete room quadrant rather than a single patch.
How do I know if an old hardwood floor has been sanded too many times to renovate?
Examine the perimeter edges of the room near heat registers or floor vents where a cross-section of the wood is visible. Look closely at the distance from the top surface down to the interlocking tongue. If that wear layer thickness is less than 1/16 of an inch, the floor cannot safely withstand another aggressive mechanical drum sanding and should be screened gently or replaced.
Why did the filler crack out of my floor gaps after a winter season?
Wood expands during humid summers and contracts during dry winters. If a rigid, non-flexible wood putty is used to fill gaps while the wood is fully expanded in the summer, the natural winter contraction will put immense pressure on that filler, fracturing it into dust.
Final Thoughts: Restoring Over Replacing
Hardwood floor renovation is a highly rewarding form of structural preservation. By choosing targeted board replacements, entire or partial hardwood floor refinishing chemical stain extractions, and subfloor stabilization over a complete floor tear-out, you preserve original high-character wood, save on material costs, and reduce structural remodeling waste.